

Onboarding Setup Wizard
When you log in to IndepHR for the first time, the onboarding setup wizard launches automatically. It walks you through a short configuration process so the platform is set up to match your organisation before you start creating surveys. This is a one-time process and takes around 3 to 5 minutes to complete. You cannot skip steps but you can go back to a previous step at any time by clicking the Back button.
The wizard covers five steps: Who We Are, Choose Industry, Organisation Departments, Your Department, and Setup Organisation.
This setup only needs to be completed once and takes just a few minutes.
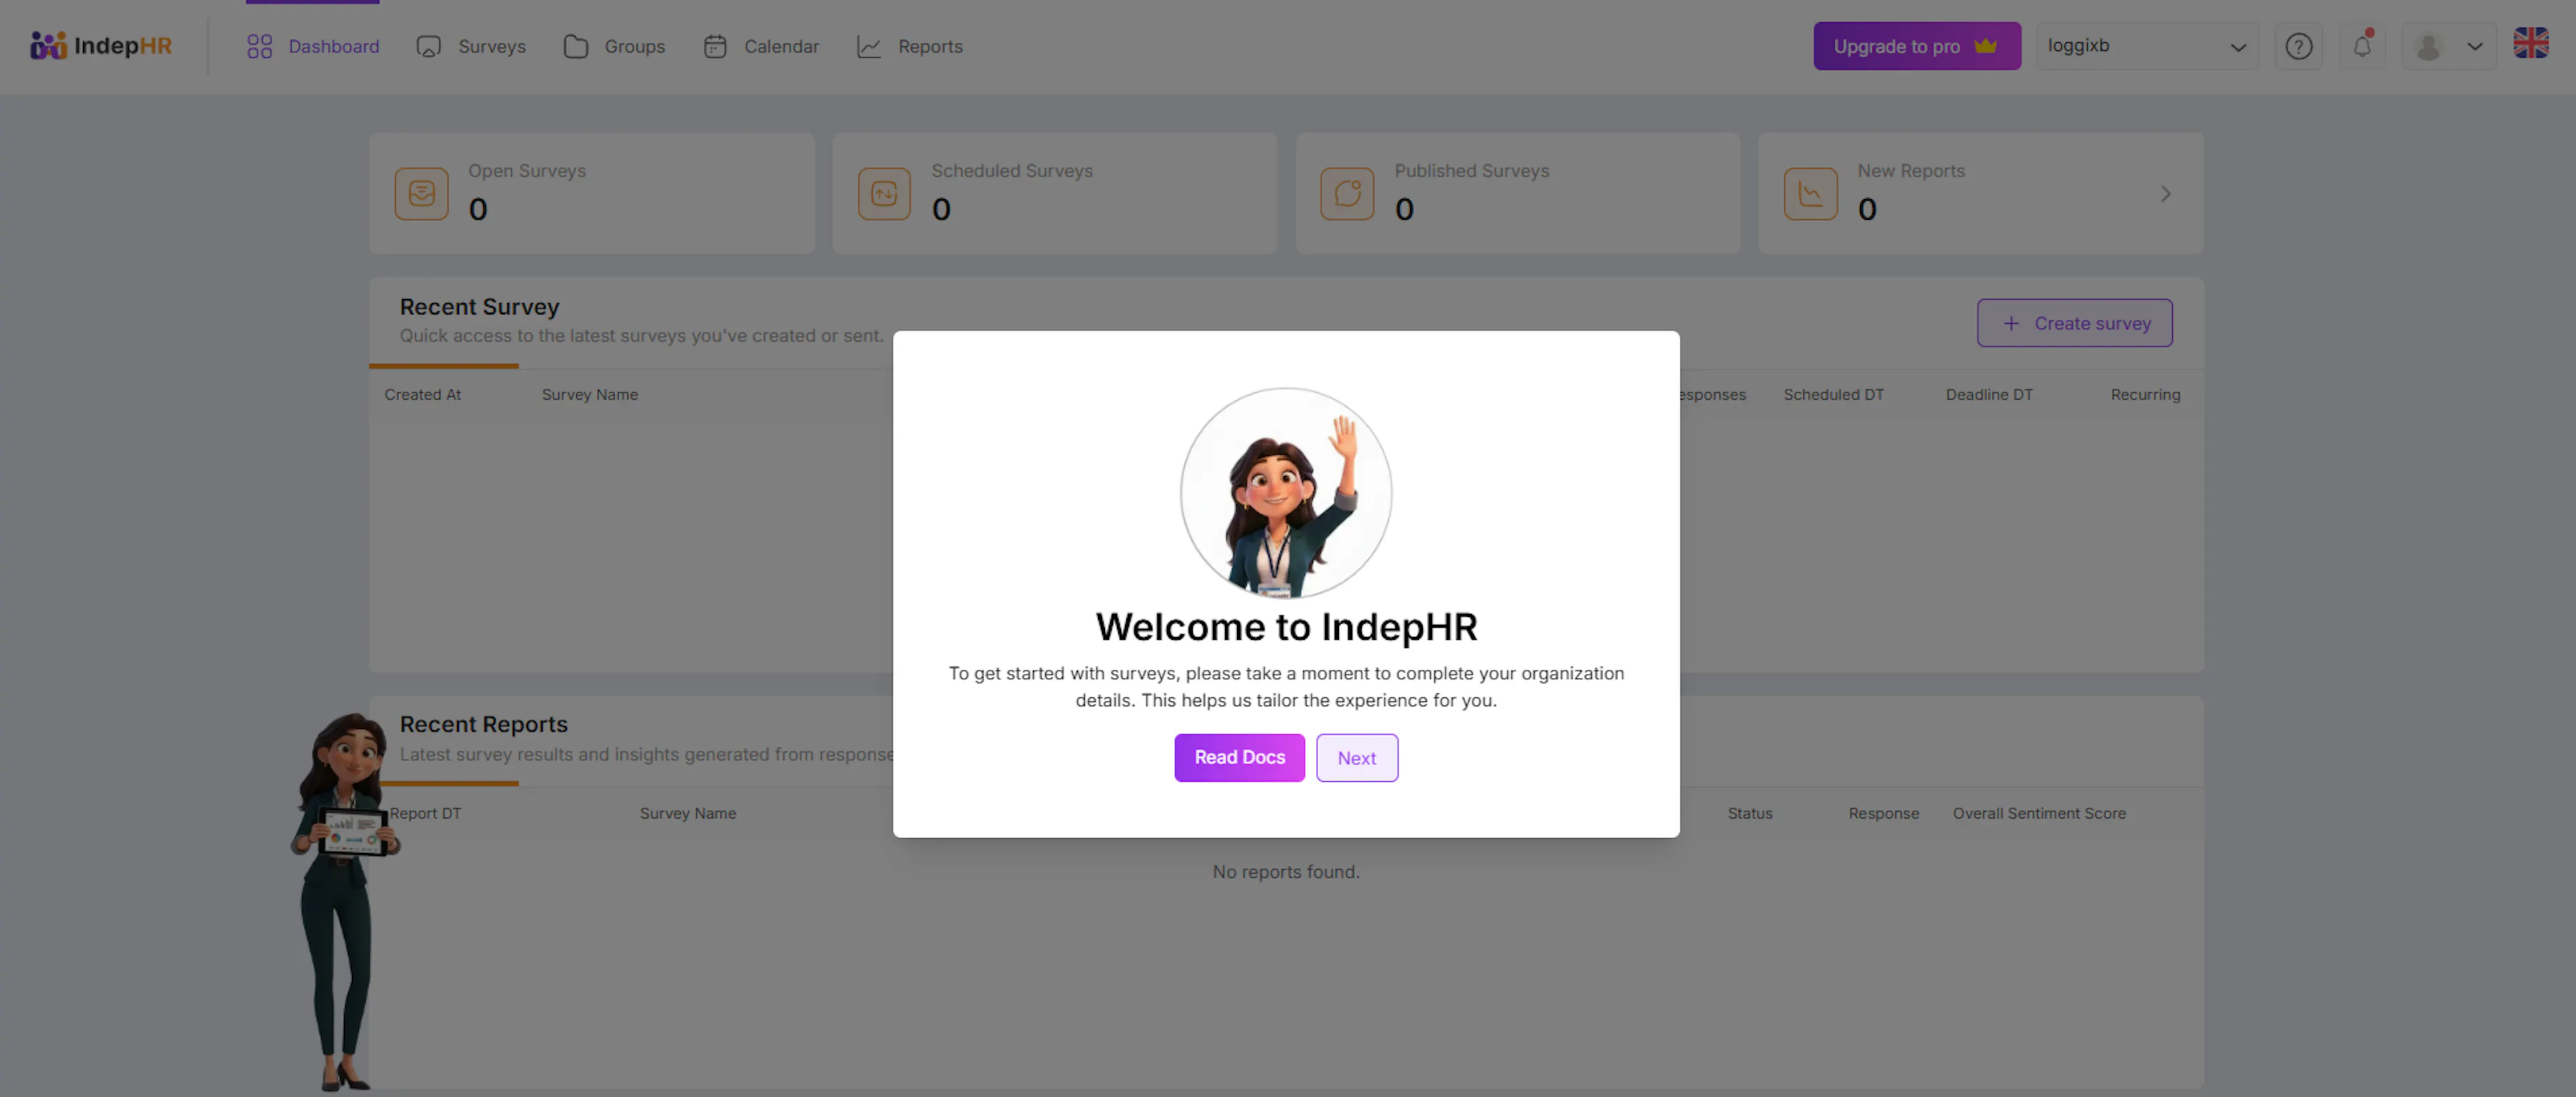
Introduction wizard
This is the intoduction wizard here click on NEXTbutton to move on for onboarding process
Choose Your Industry
Select the industry your organization belongs to.
- Select the industry your organisation operates in from the dropdown menu. This helps IndepHR provide relevant survey recommendations and benchmarks suited to your sector. If your exact industry is not listed, select the closest match. You can update this later from your Organisation Profile settings.
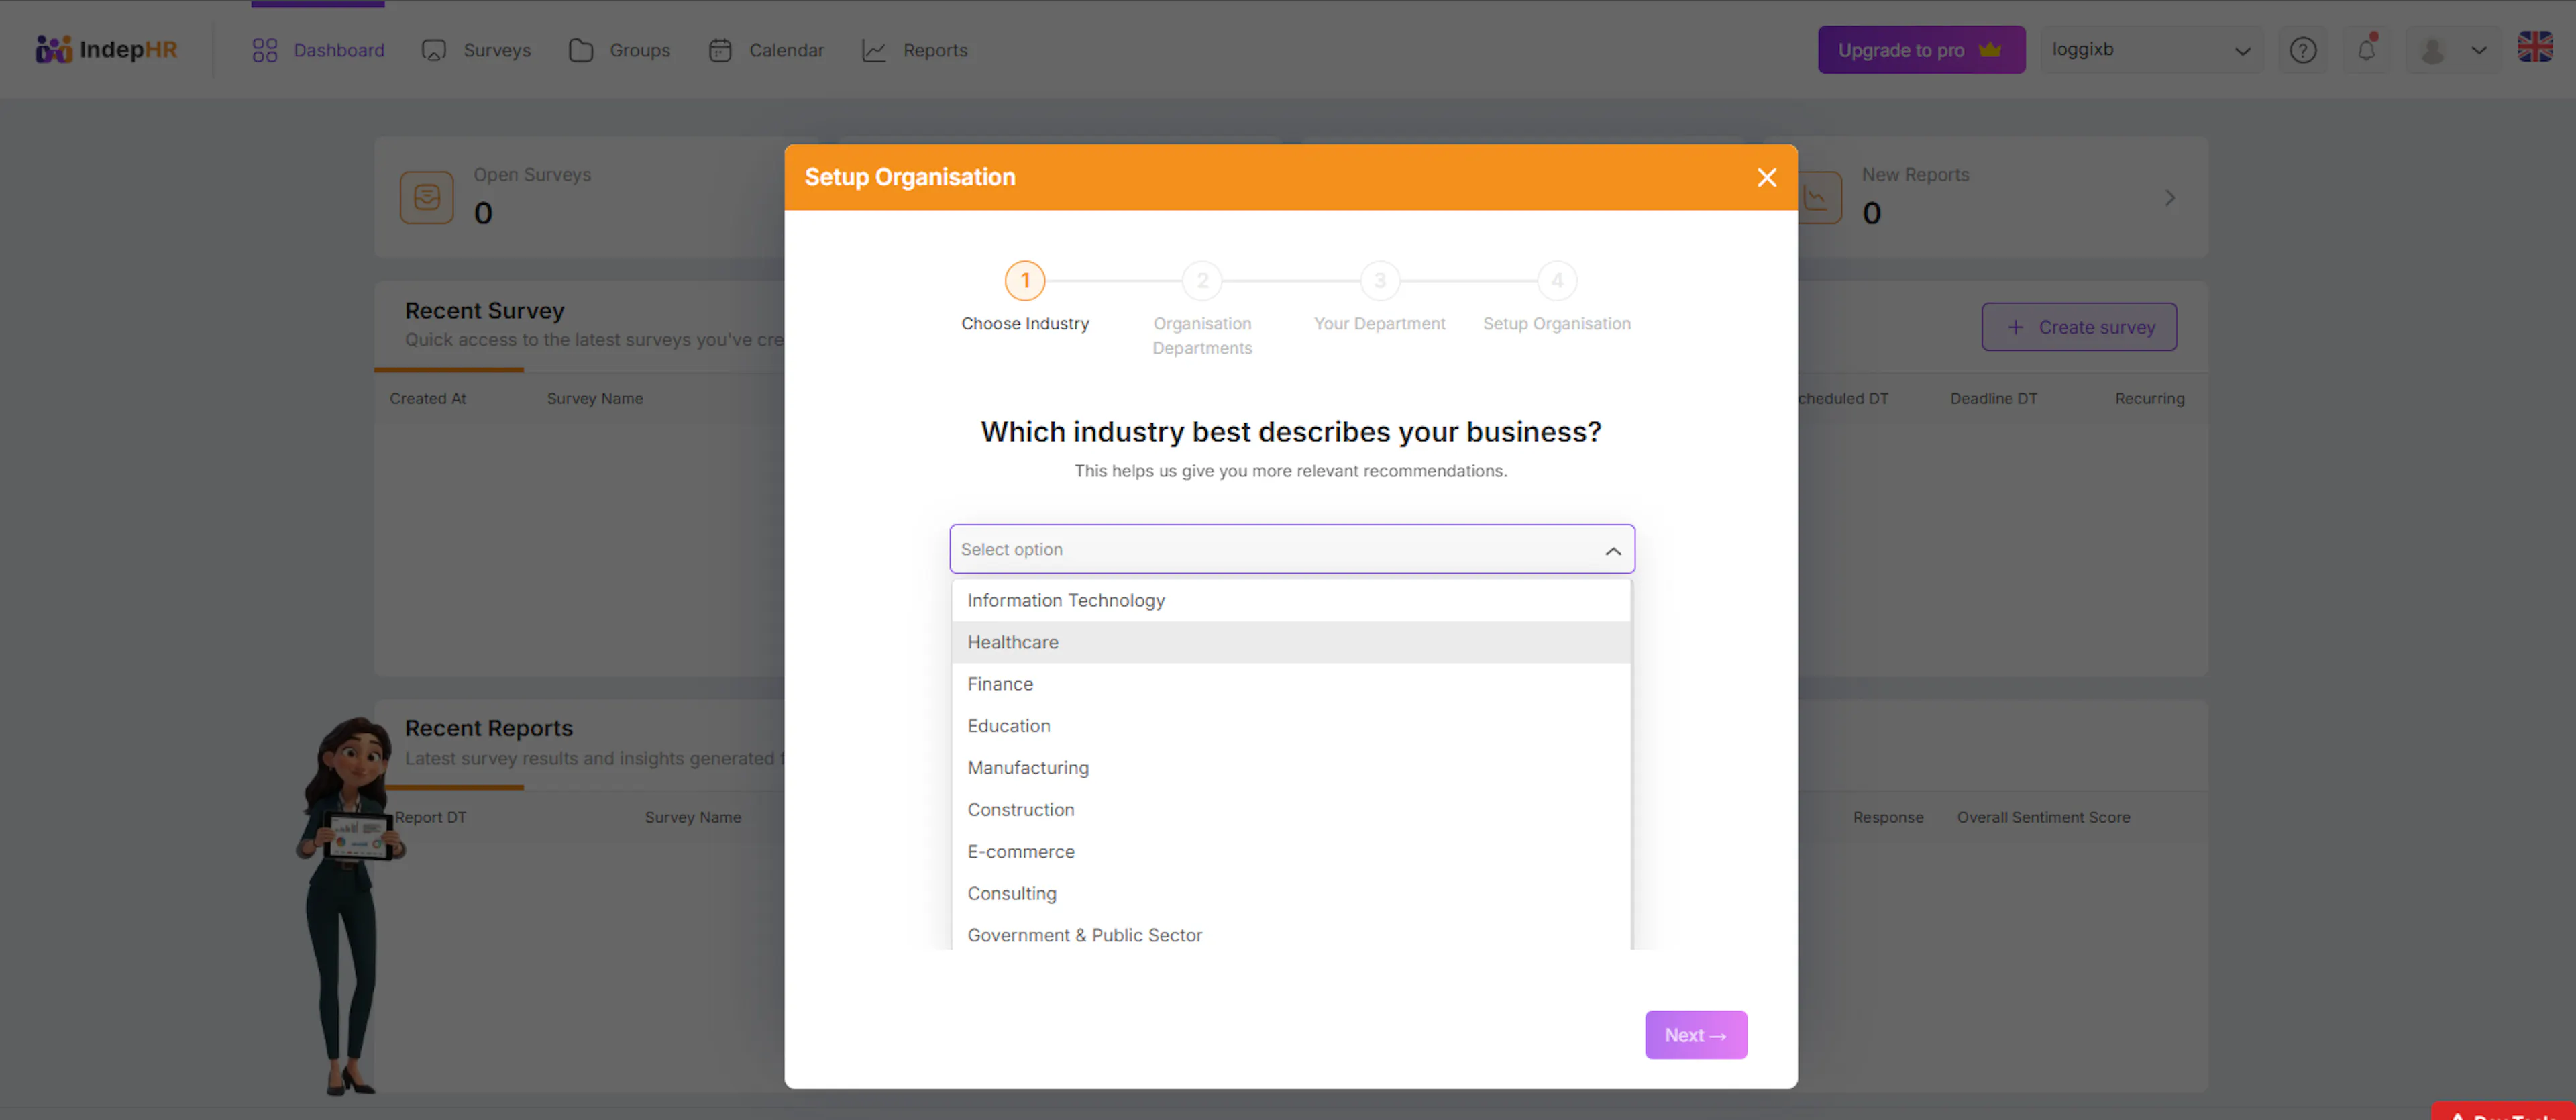
Click Next to continue.
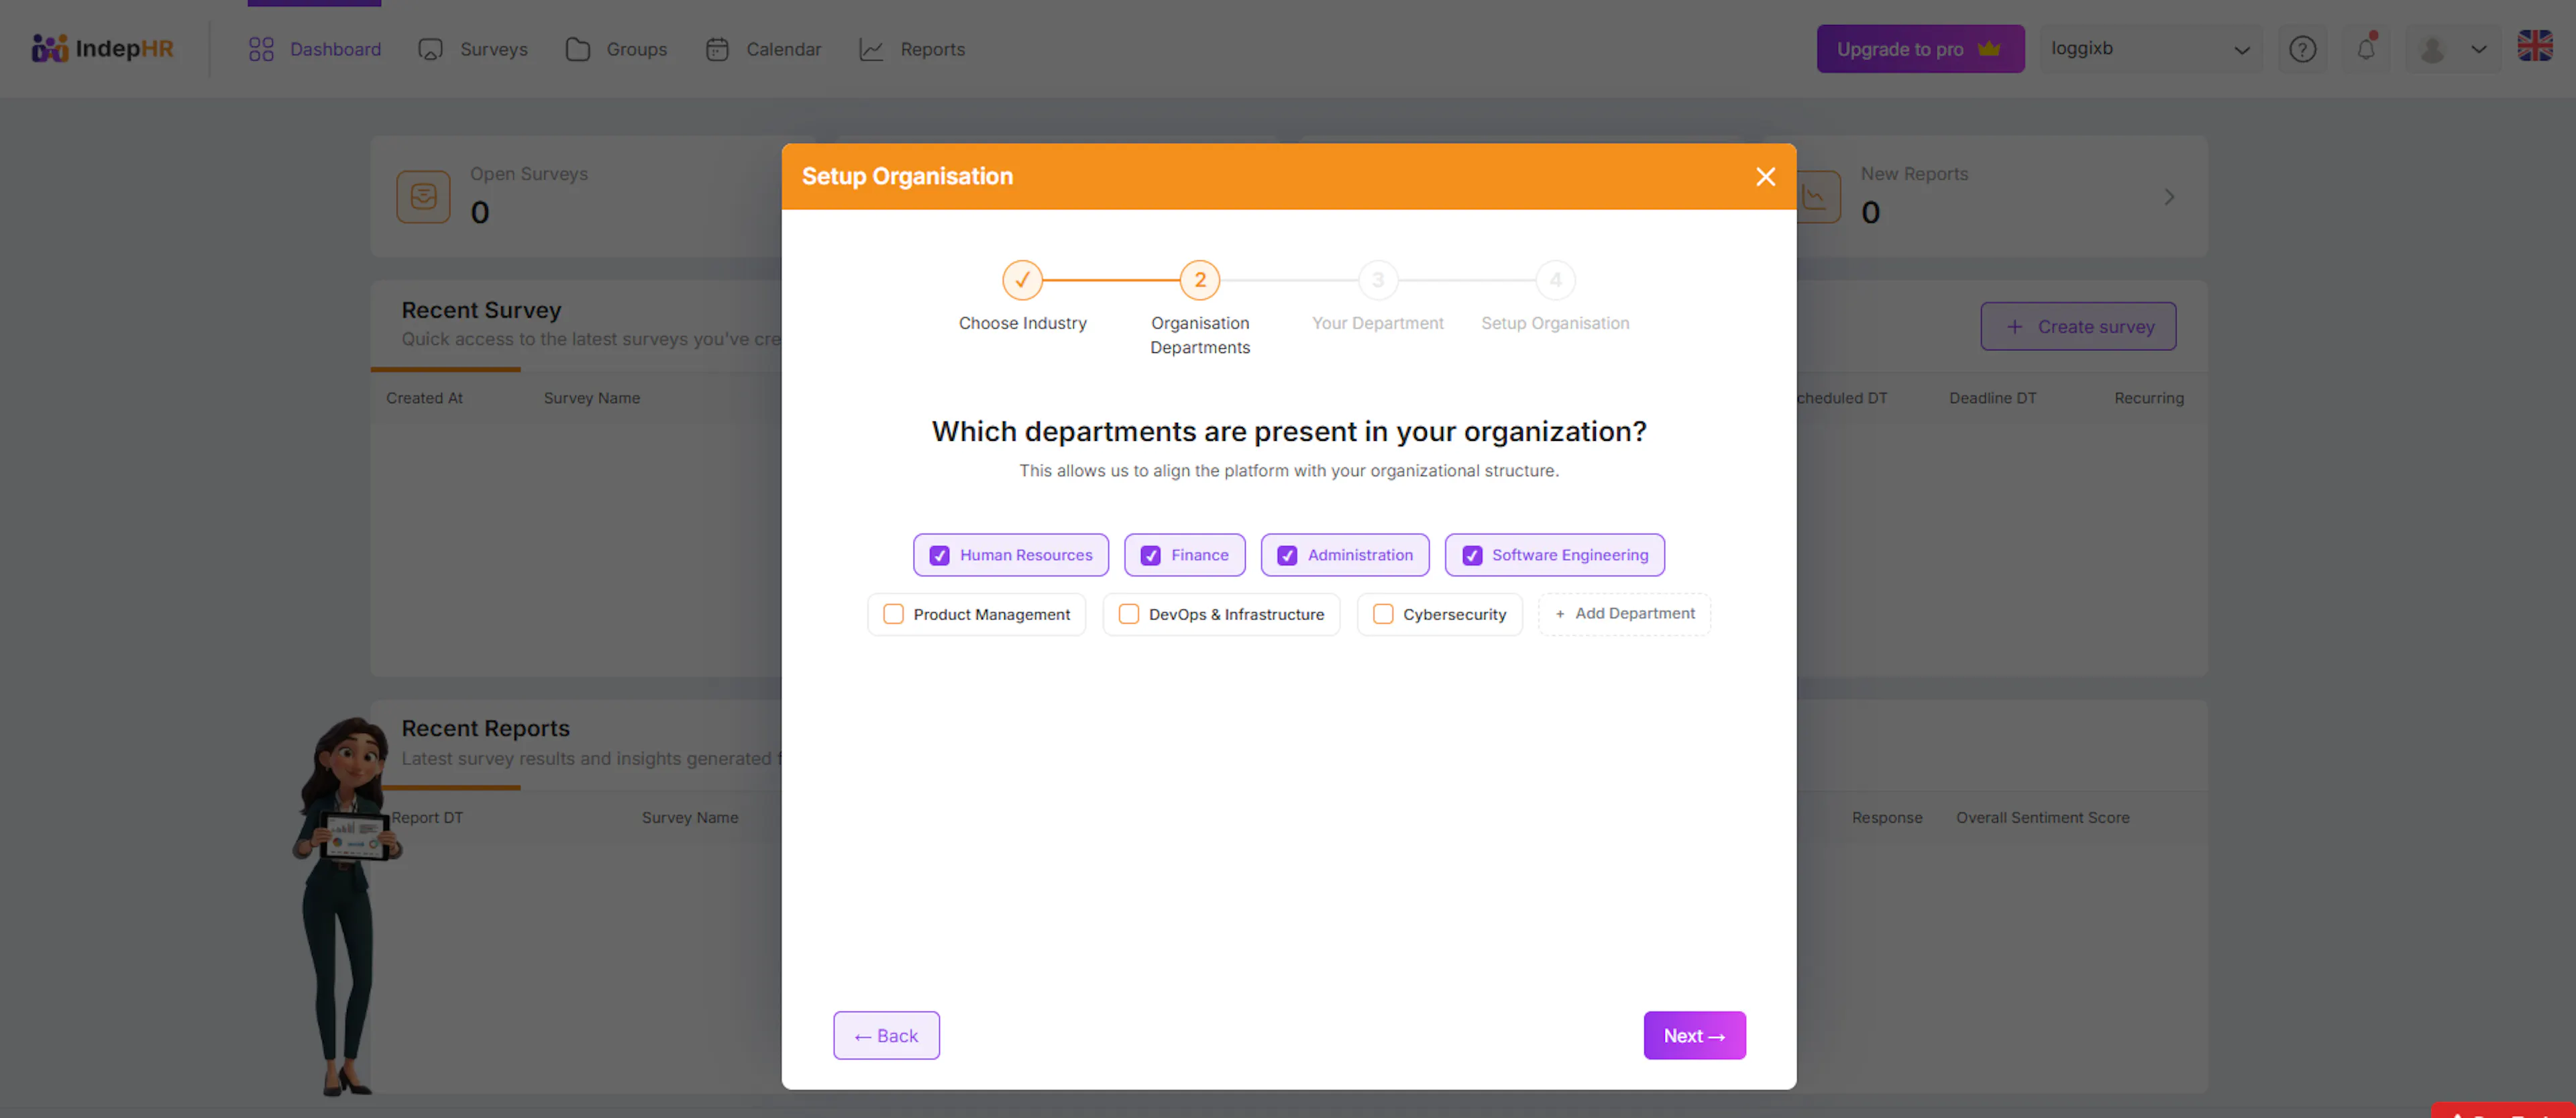
Select Organization Departments
Define the departments in your organization.
-
Add the departments that exist within your organisation. These are used to organise recipients when sending surveys, so you can target specific teams rather than your entire organisation.
-
Choose all that apply
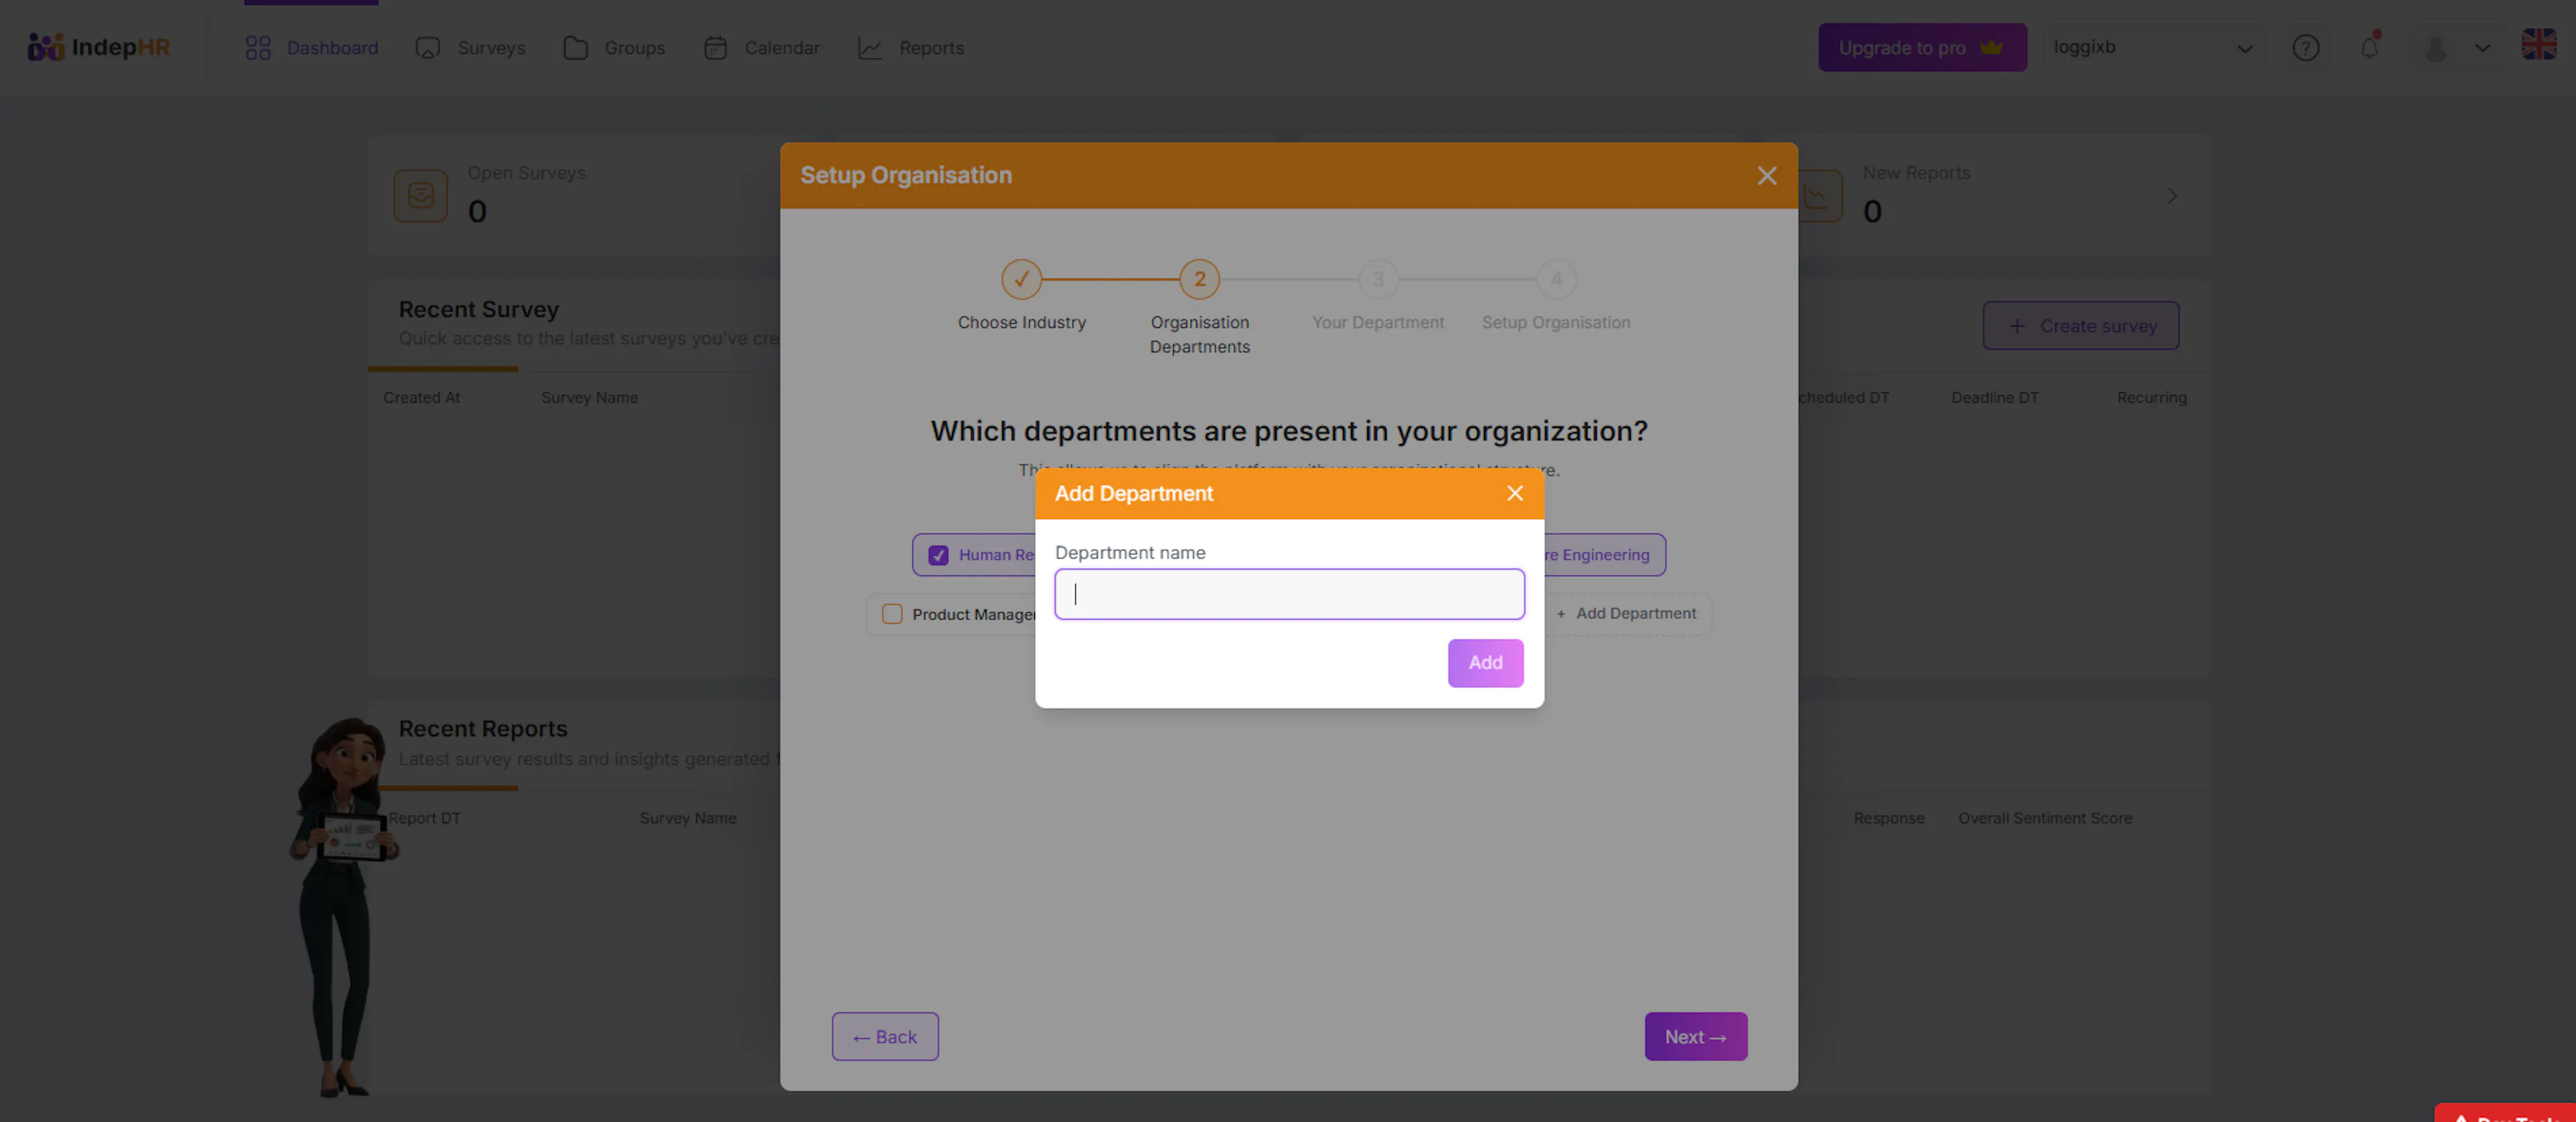
Add a new department (if needed):
- Click + Add Department
-
Enter department name
-
Add it to the list
-
This ensures your organization structure is accurately represented.
Click Next to proceed.
Select Your Department
Choose your personal department.
- Select the department you personally belong to from the list . This is used to set your profile within the organisation.
If not available:
-
Click + Add Department
-
Add your department
-
Select it after adding
This helps indepHR personalize your experience.

Click Next to continue.
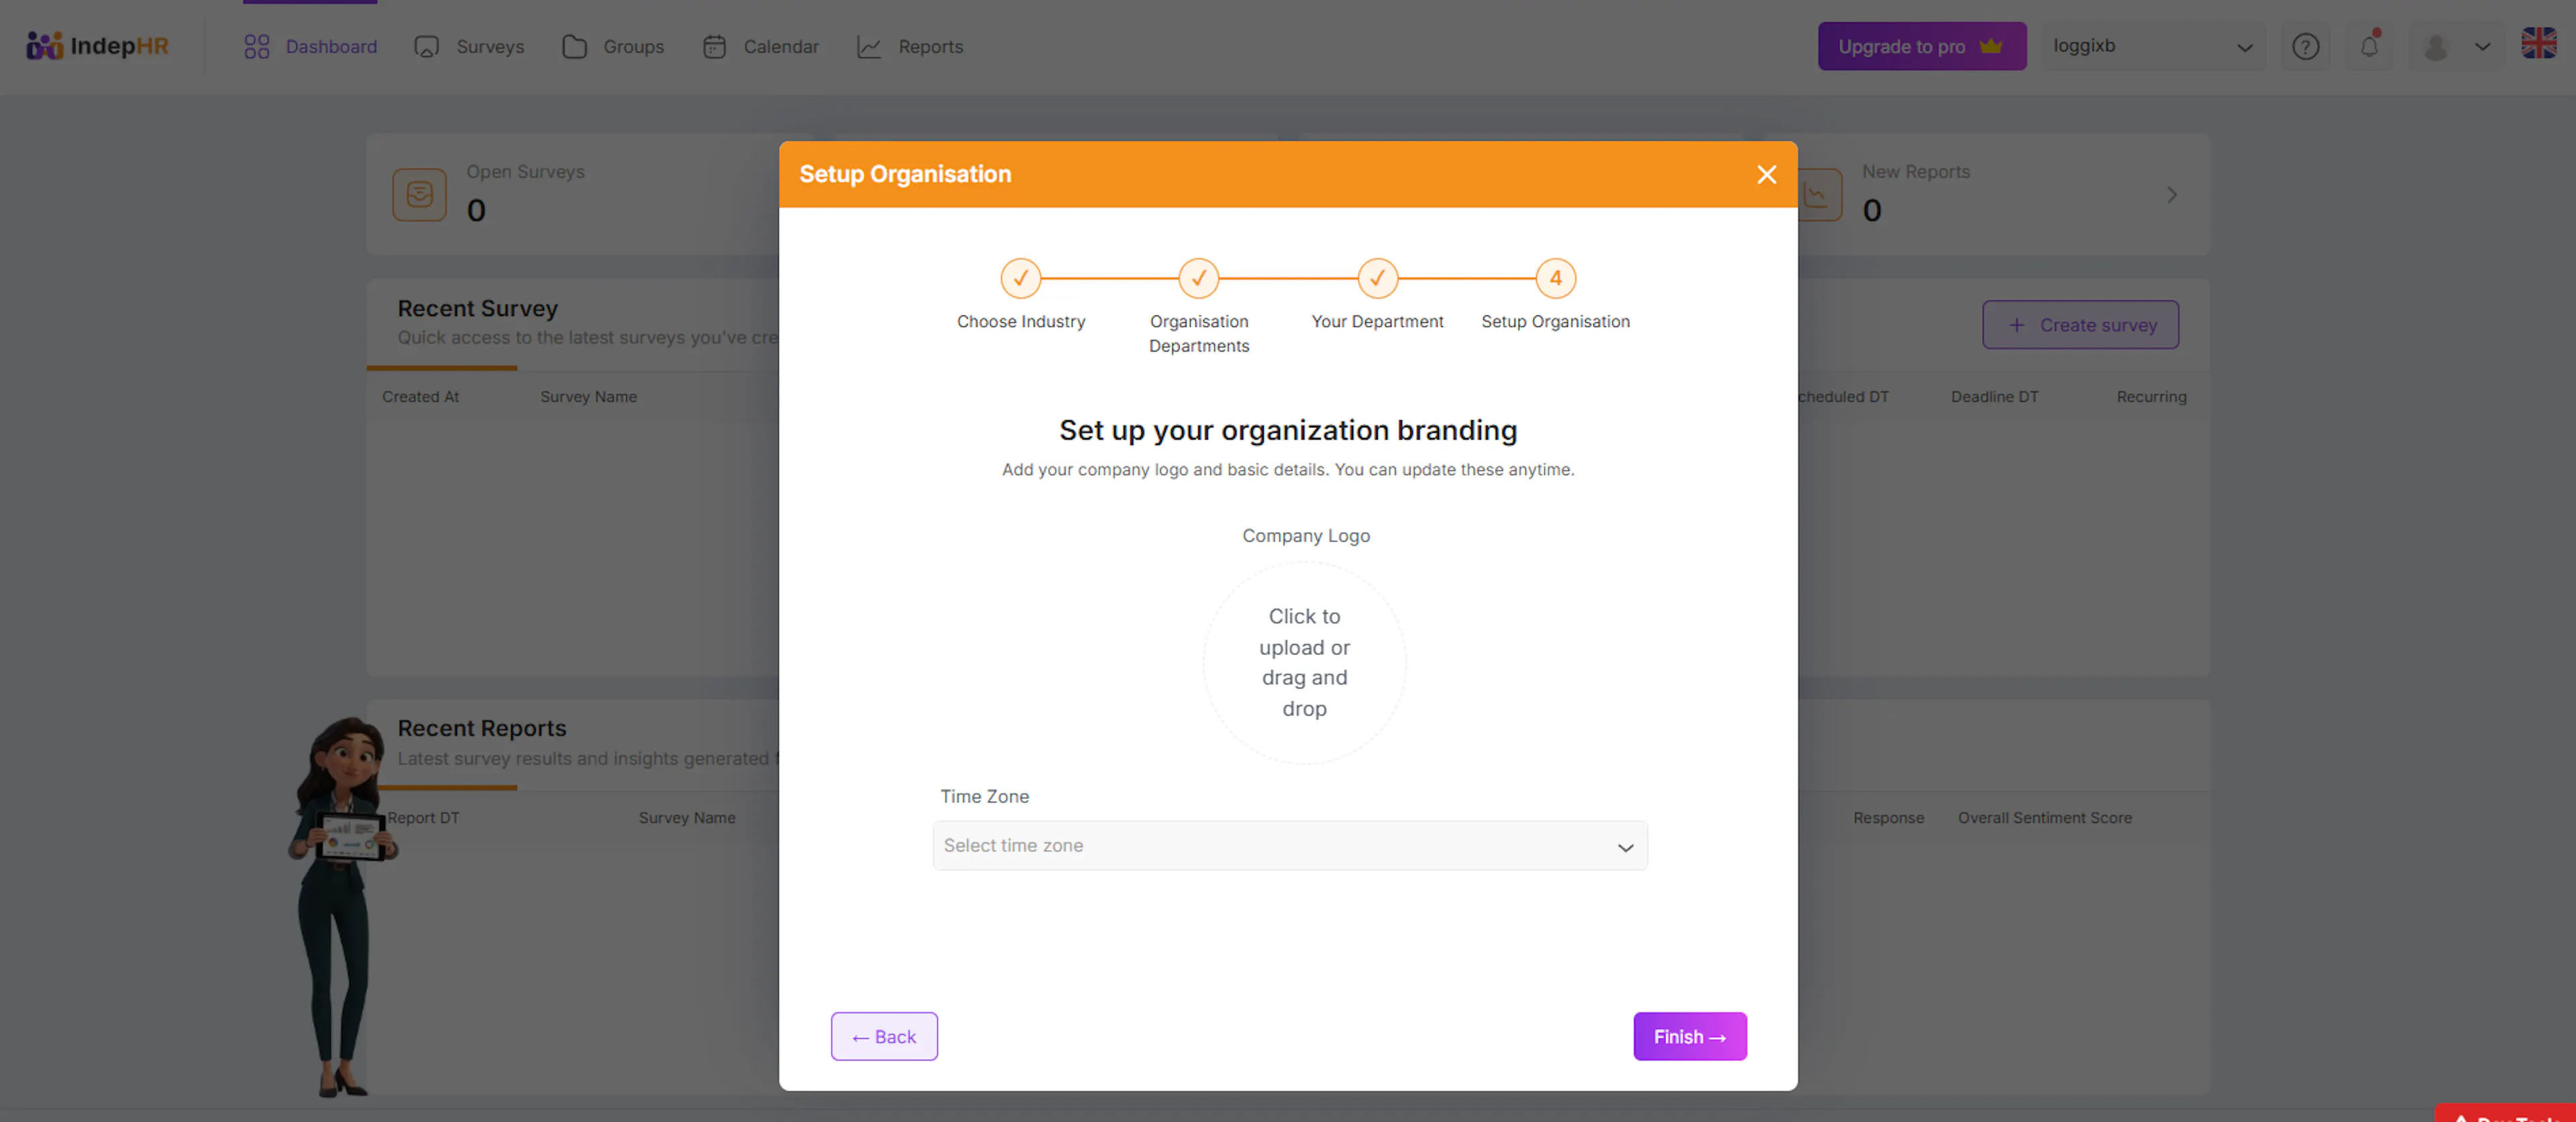
Set Up Organization Details
This is the final step. Configure your organisation settings before completing the setup.
Upload Company Logo Upload your company logo by clicking the upload area or dragging and dropping the file. Your logo will appear on survey emails and report headers. This step is optional but recommended for a professional appearance.
Select Time Zone Choose your organisation's time zone from the dropdown. This ensures surveys are scheduled and deadlines are set at the correct local time, and that notification emails are sent at the right time for your recipients.
Once both settings are configured, click Finish to complete the setup.
Click Finish to complete setup.
Setup Complete
- Setup Complete
Once you click Finish, your onboarding configuration is saved and you will be redirected to your dashboard. The wizard will not appear again on subsequent logins. If you need to update any of the details you configured during onboarding such as your industry, departments, logo, or time zone go to Organisation Settings from the sidebar at any time.
Your next step is to explore the dashboard and then create your first survey.
Troubleshooting
-
Wizard did not appear after first login Log out and log back in. If the wizard still does not appear, go to Organisation Settings and complete your organisation profile manually from there.\
-
Cannot add a department Make sure you are typing the department name and clicking the Add Department button before moving to the next step. Pressing Enter alone may not save the entry in all browsers.\
-
Made a mistake after finishing The wizard only runs once but most details can be edited after setup. Go to Organisation Settings from the sidebar to update your industry, departments, logo, or time zone.\
-
Wizard is showing again after completing it This can happen if the setup was not fully completed during the first session. Complete all five steps and click Finish to prevent it from appearing again.